How to Install Raspberry Pi OS on an SD Card
Materials Needed:
Raspberry Pi 4 (minimum 4GB RAM, 8GB recommended)
MicroSD Card (Samsung PRO Endurance, 64GB recommended)
MicroSD Card reader
Instructions:
1. Download Raspberry Pi Imager
Visit the Raspberry Pi Imager download page.
Download and install the software for your operating system (Windows, macOS, or Linux).
2. Prepare the SD Card
Insert your MicroSD card into the card reader and connect it to your computer.
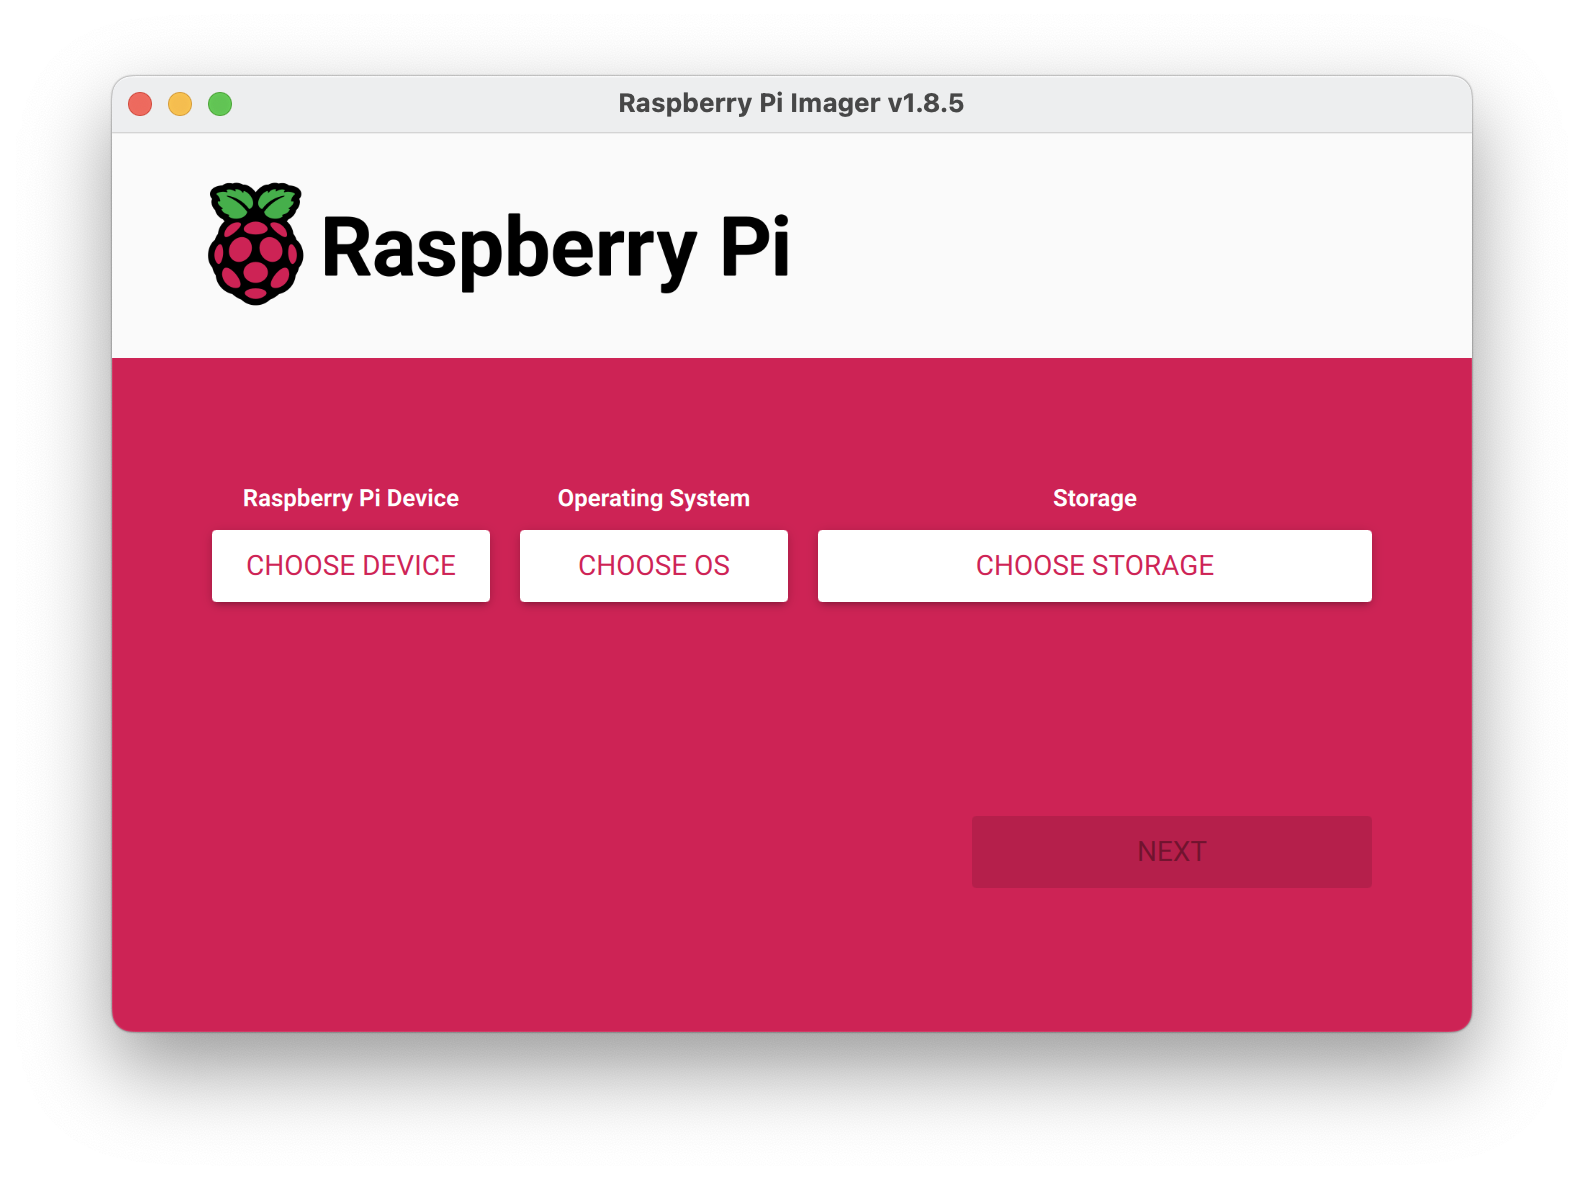
3. Launch Raspberry Pi Imager
Open the Raspberry Pi Imager application.
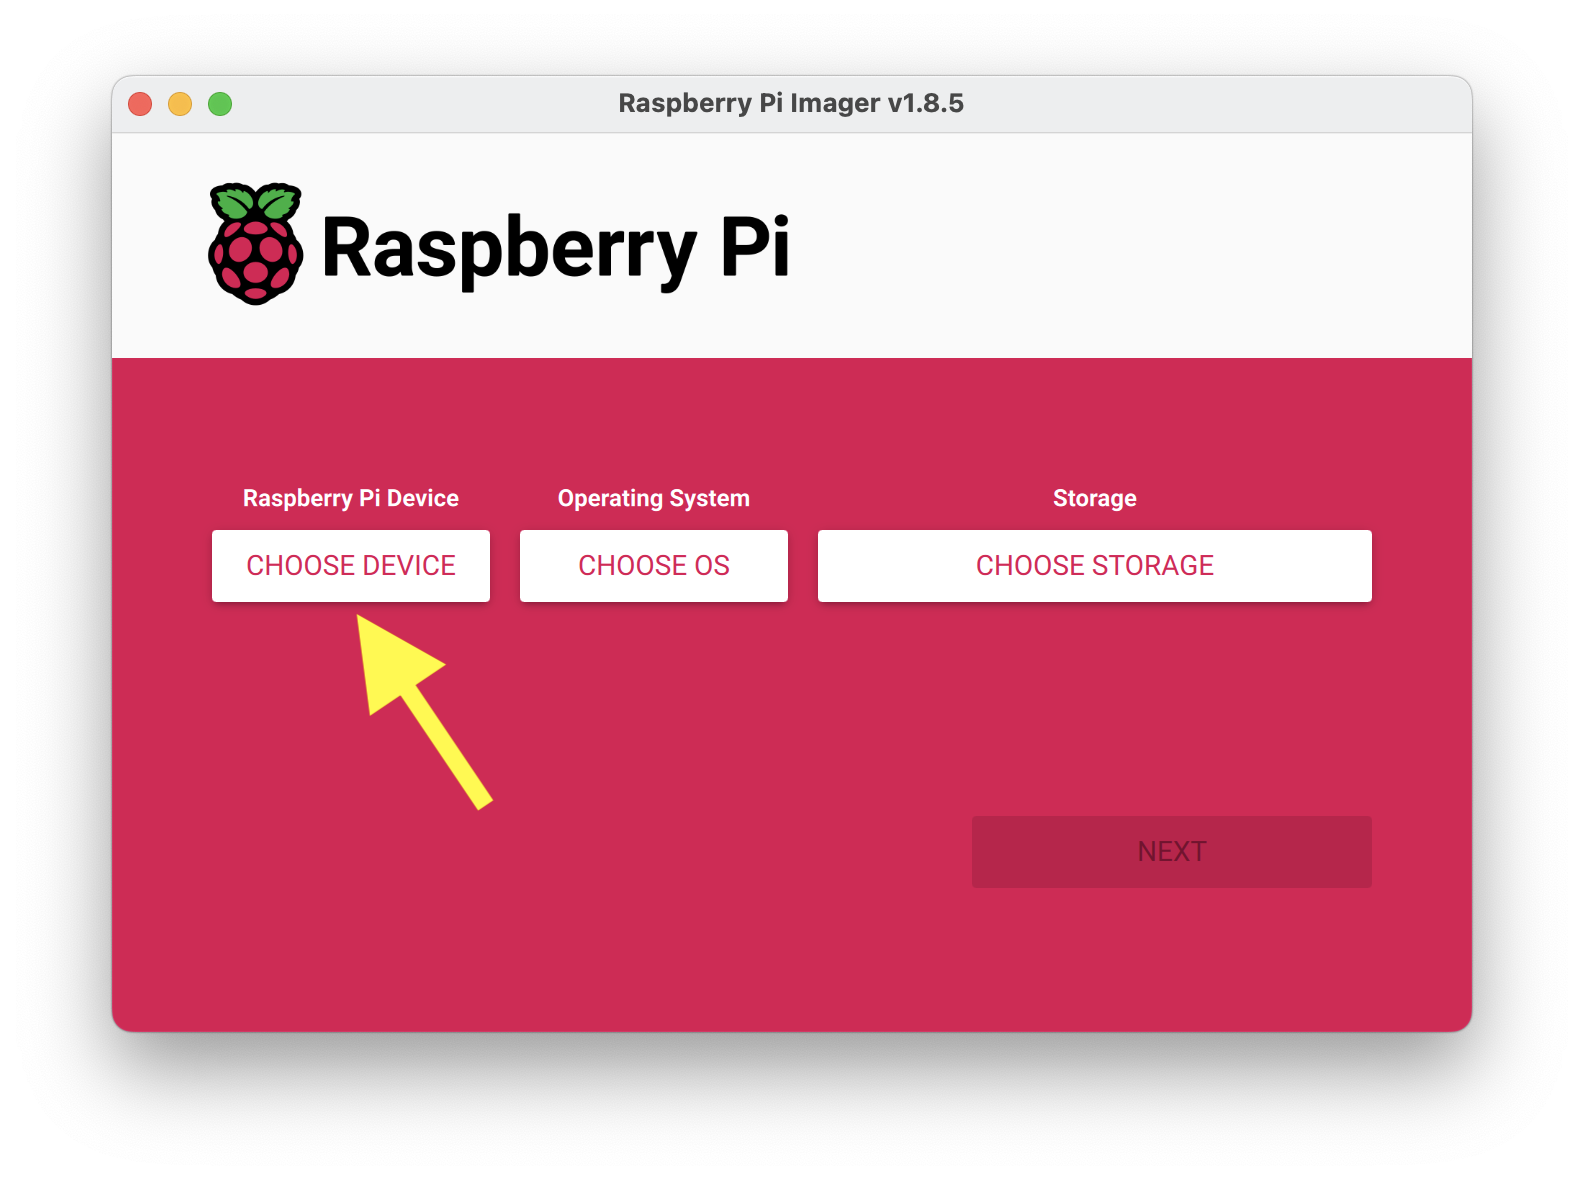
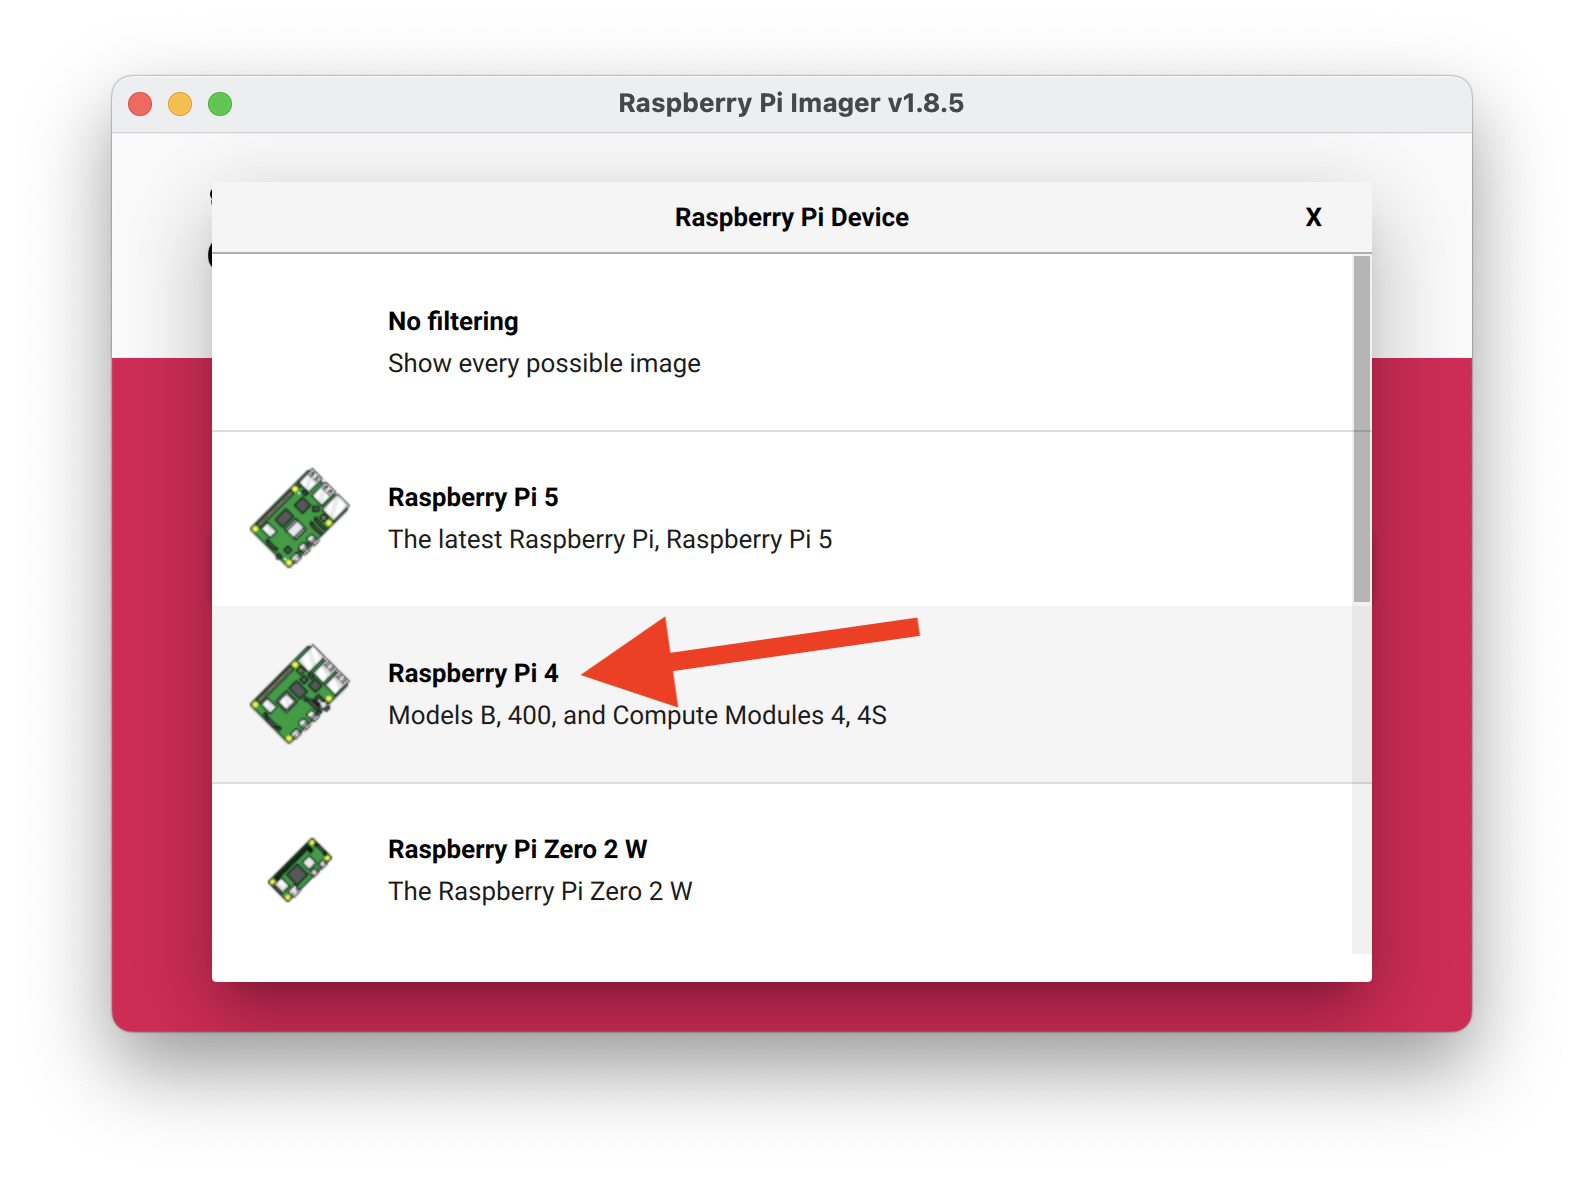
4. Select the Device
Click on CHOOSE DEVICE.
Select Raspberry Pi 4.
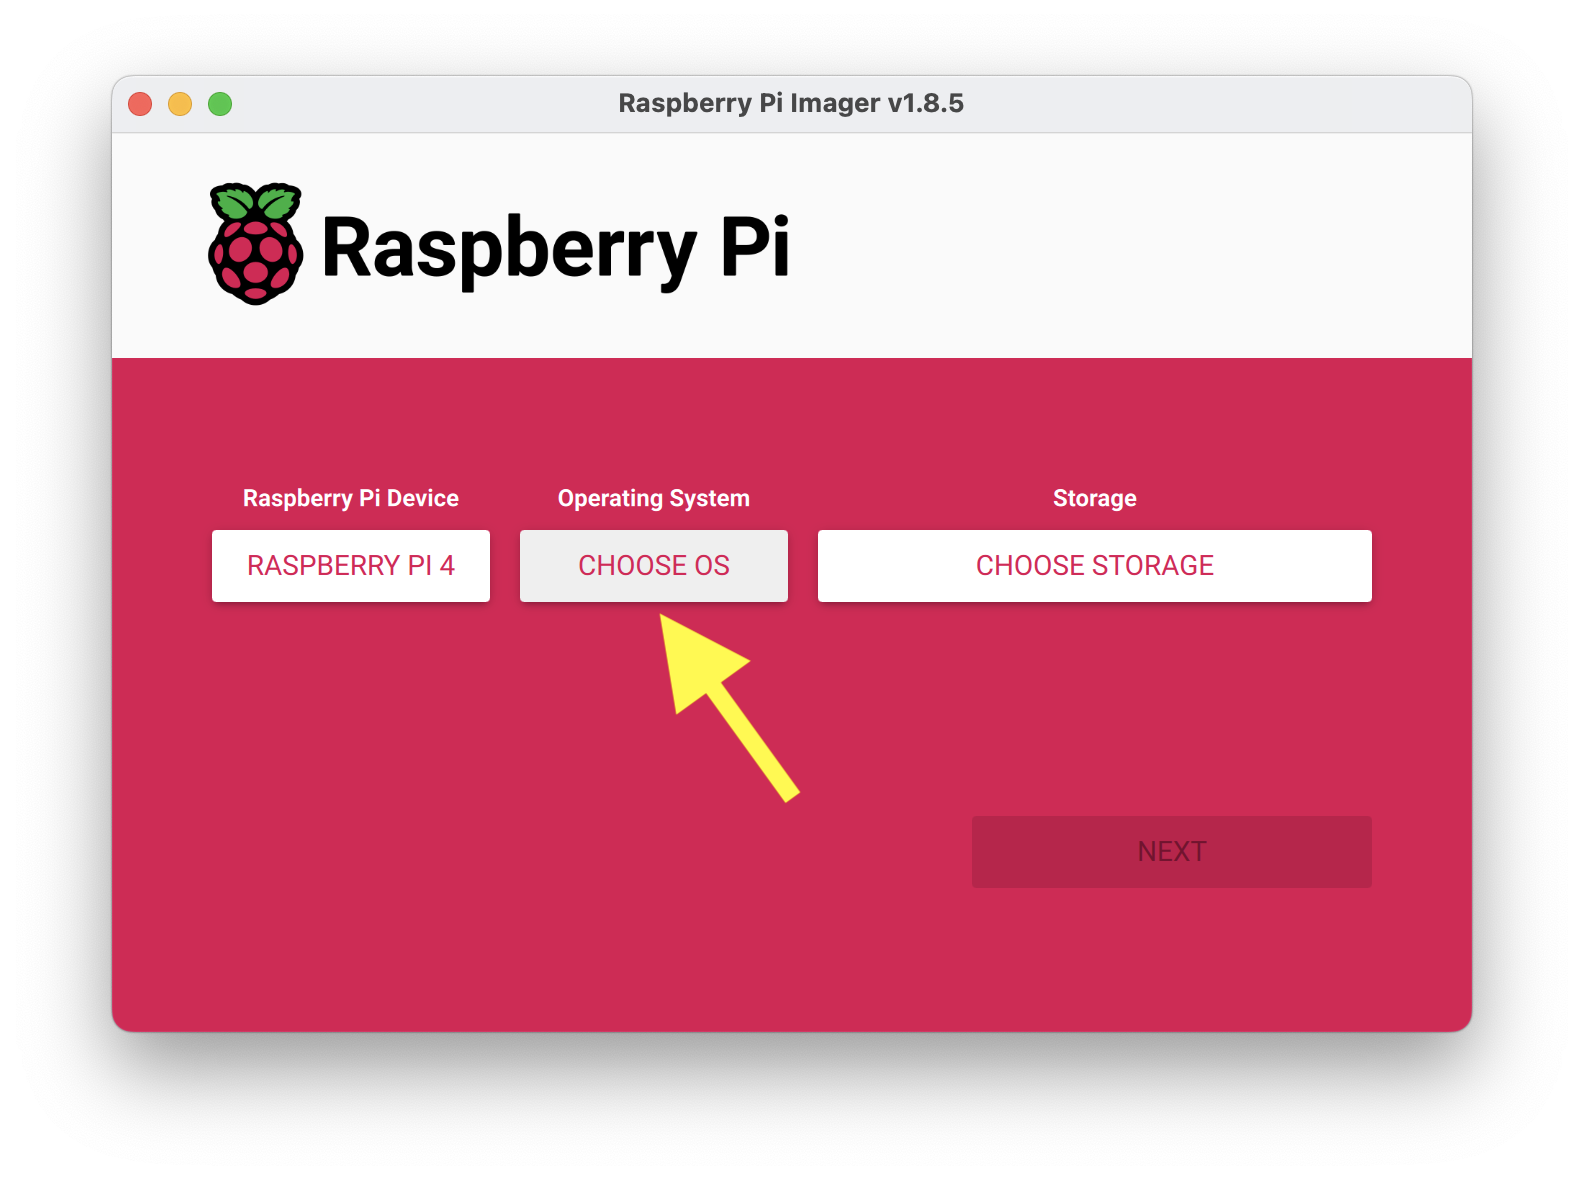
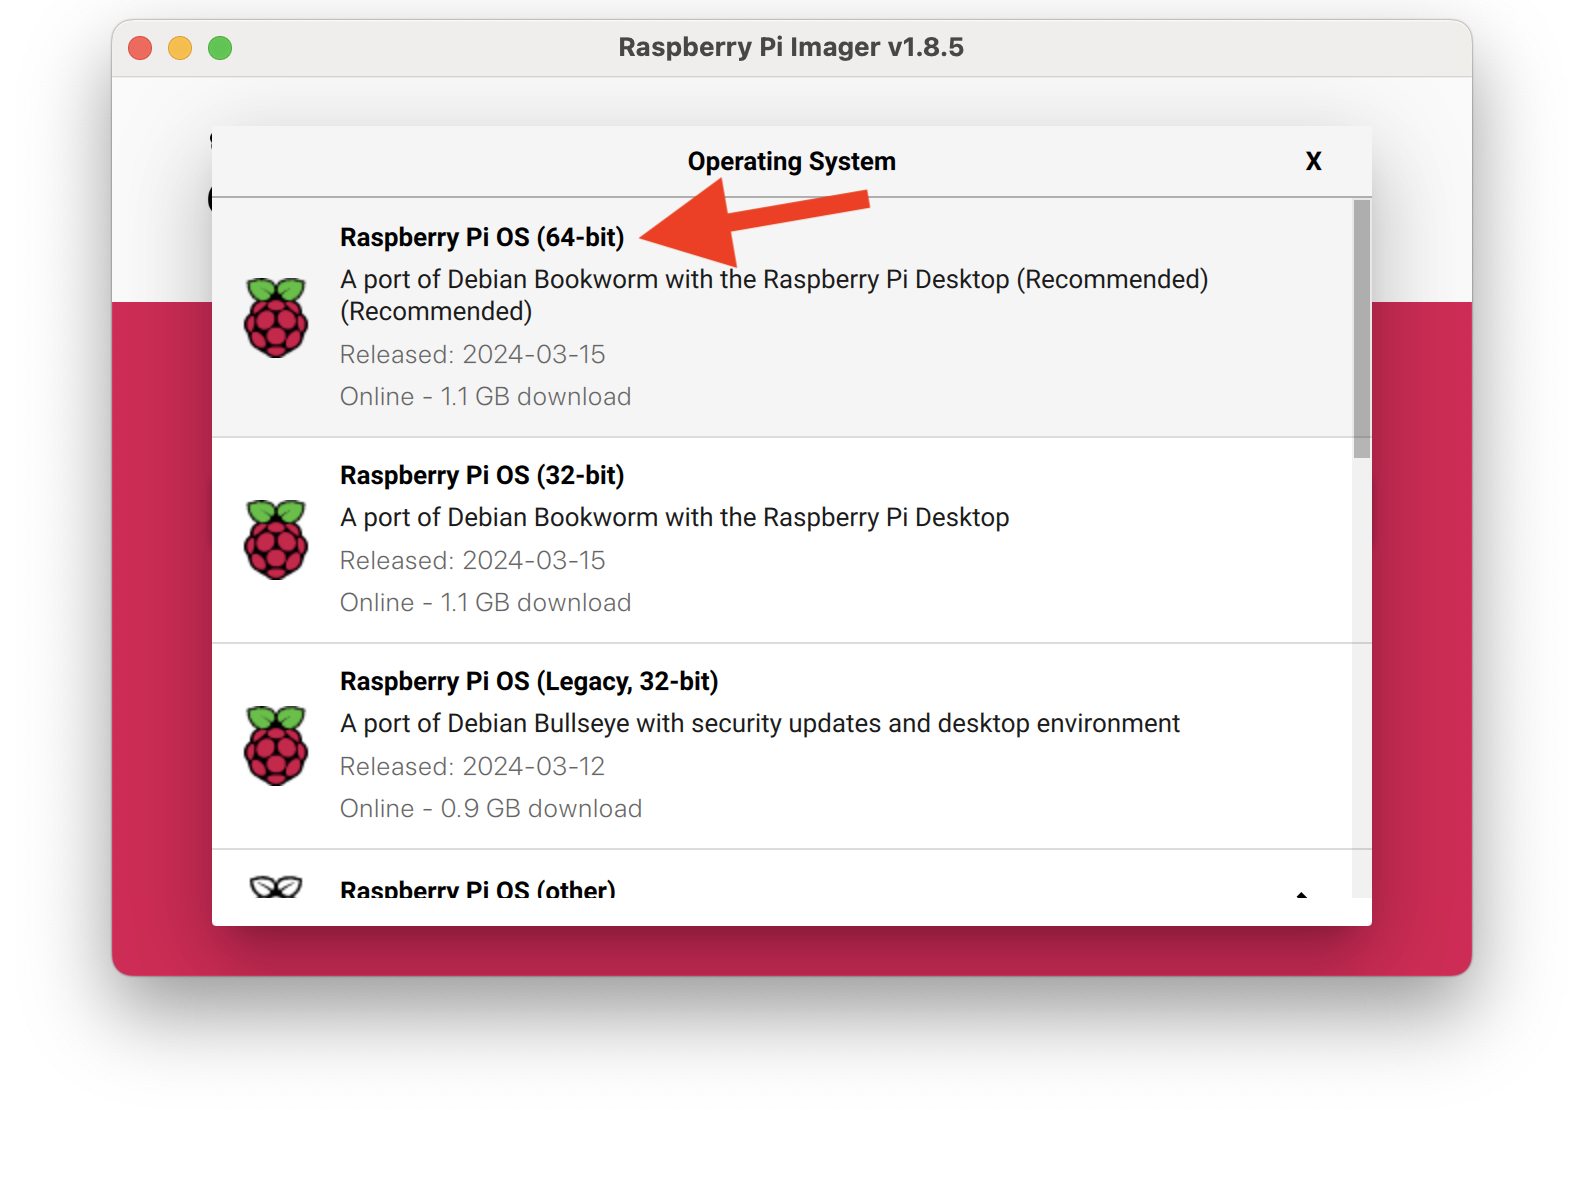
5. Select the OS
Click on CHOOSE OS.
Select Raspberry Pi OS (64-bit).
6. Select the Storage
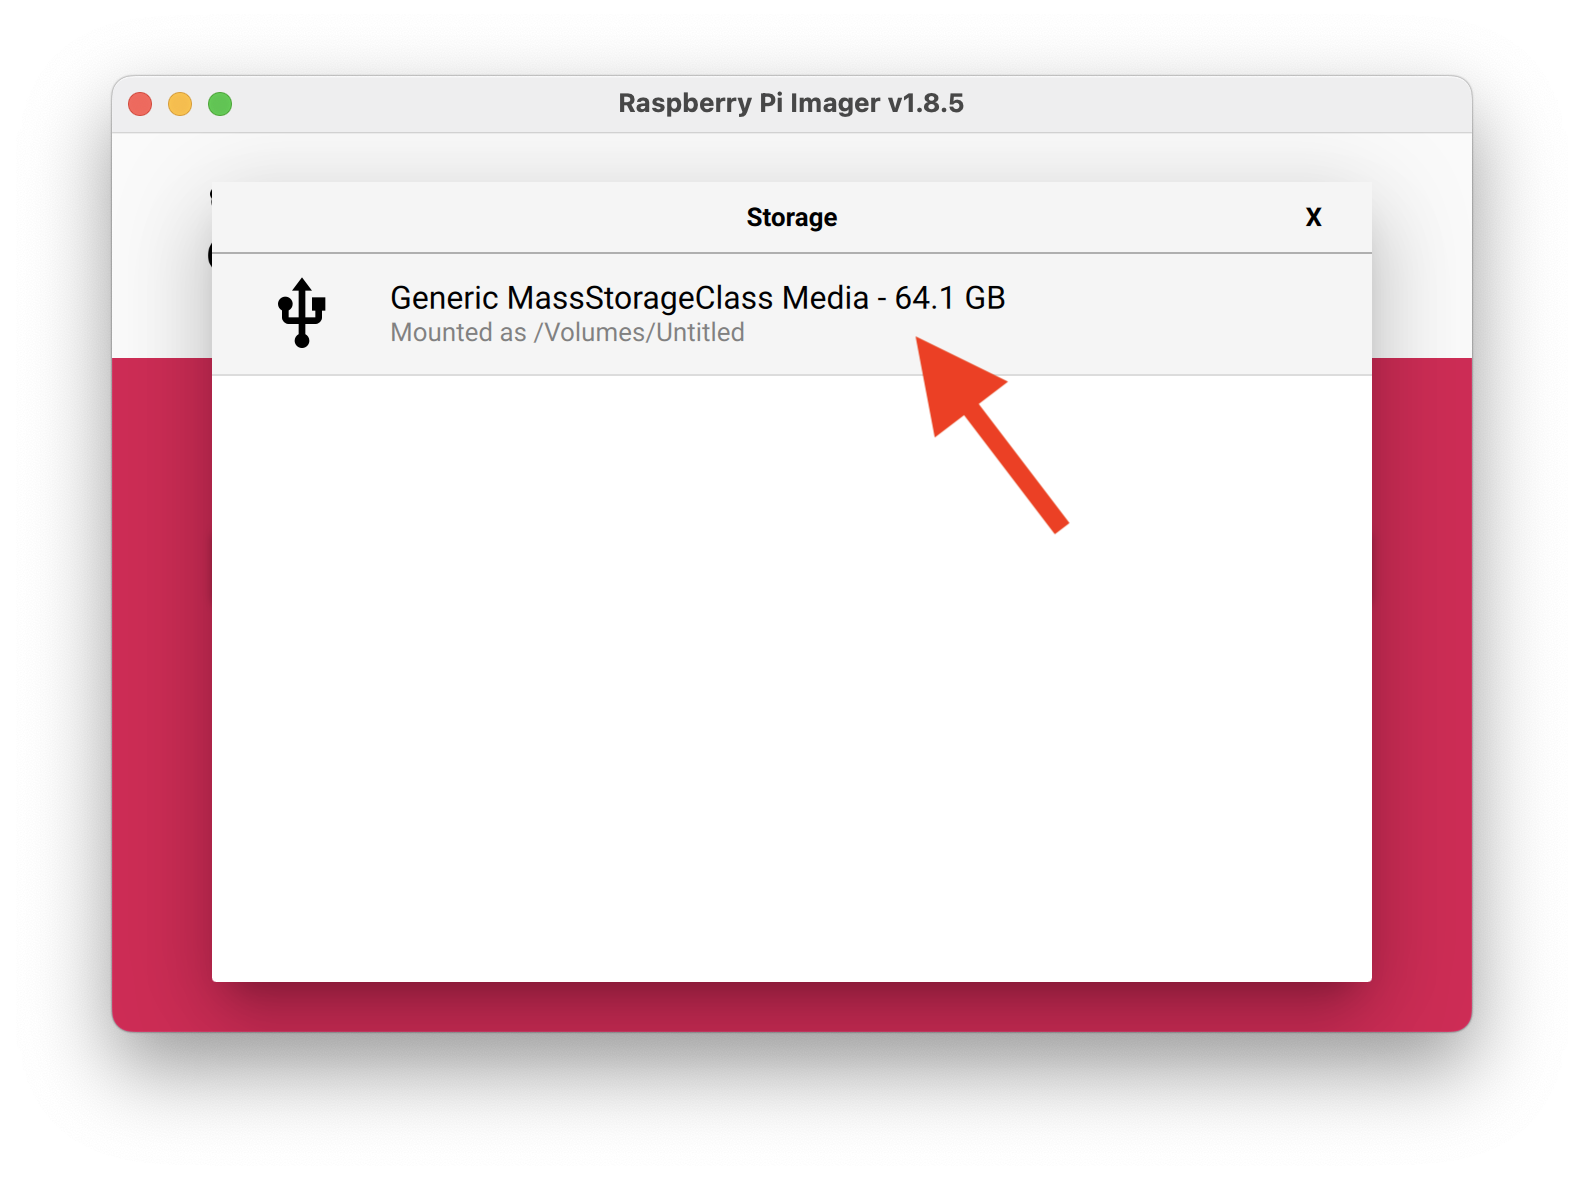
Click on CHOOSE STORAGE.
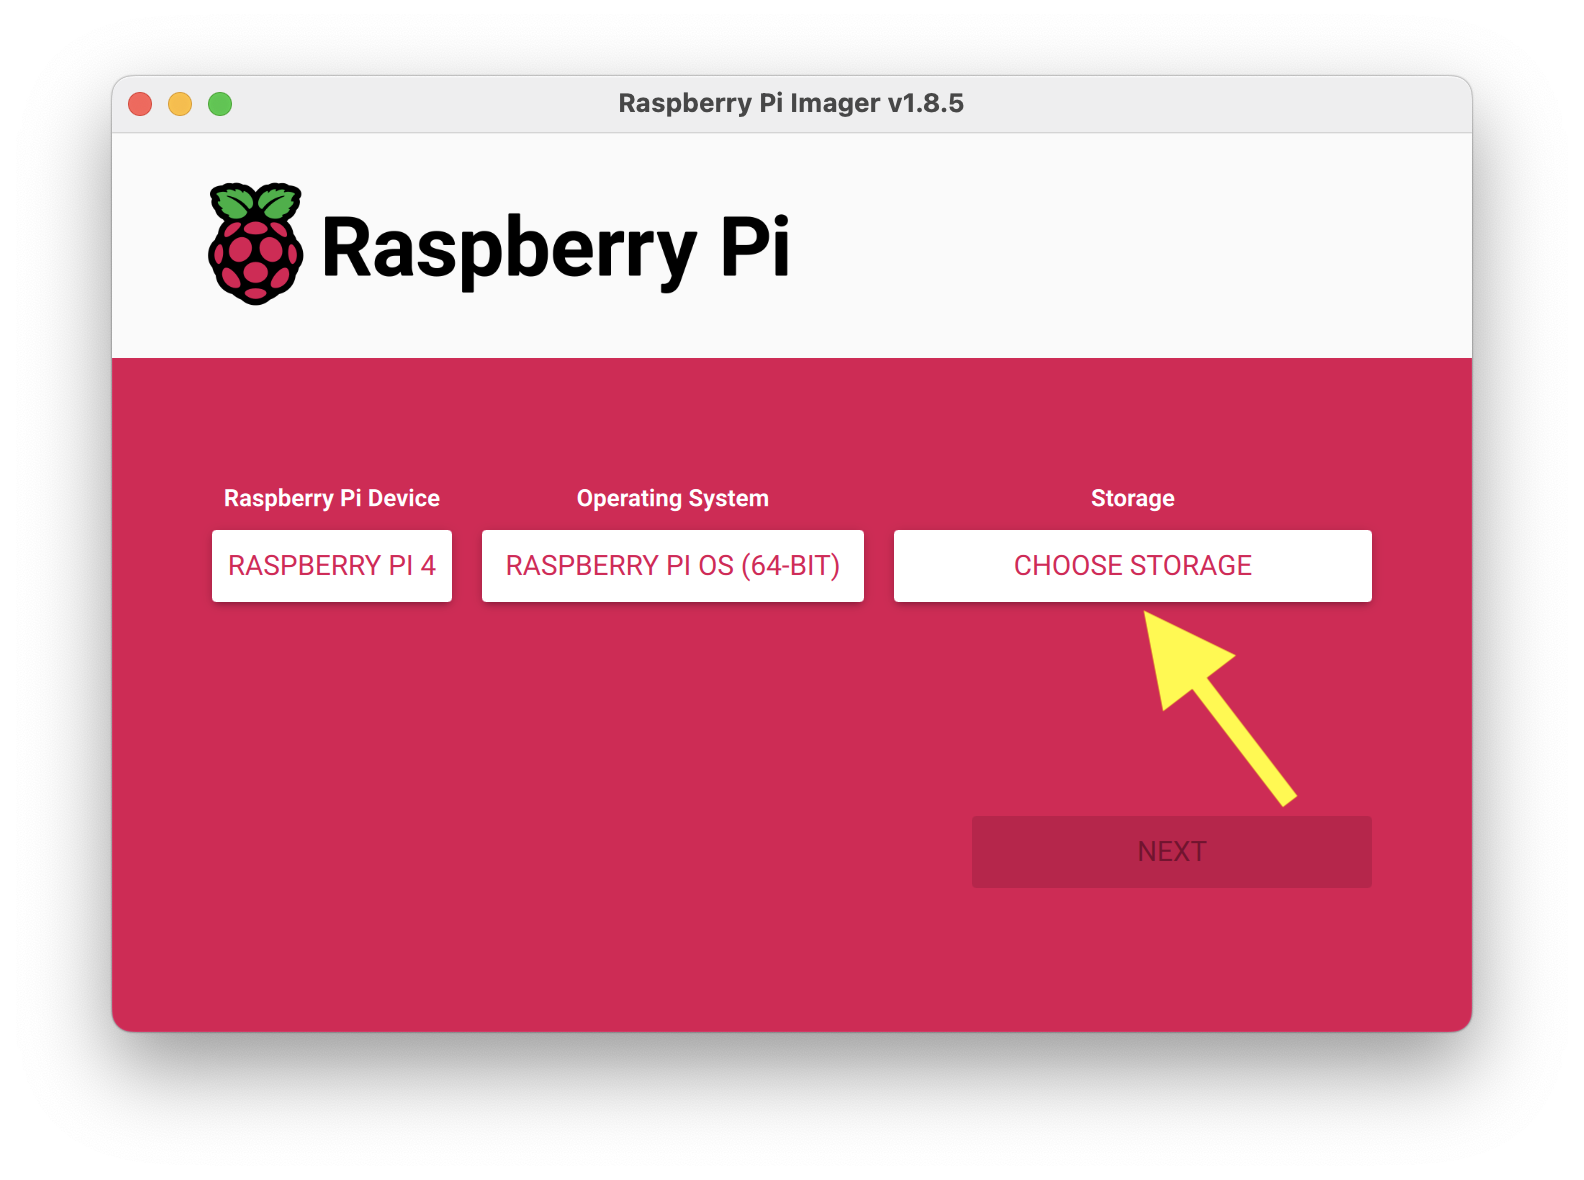
Select your MicroSD card from the list.
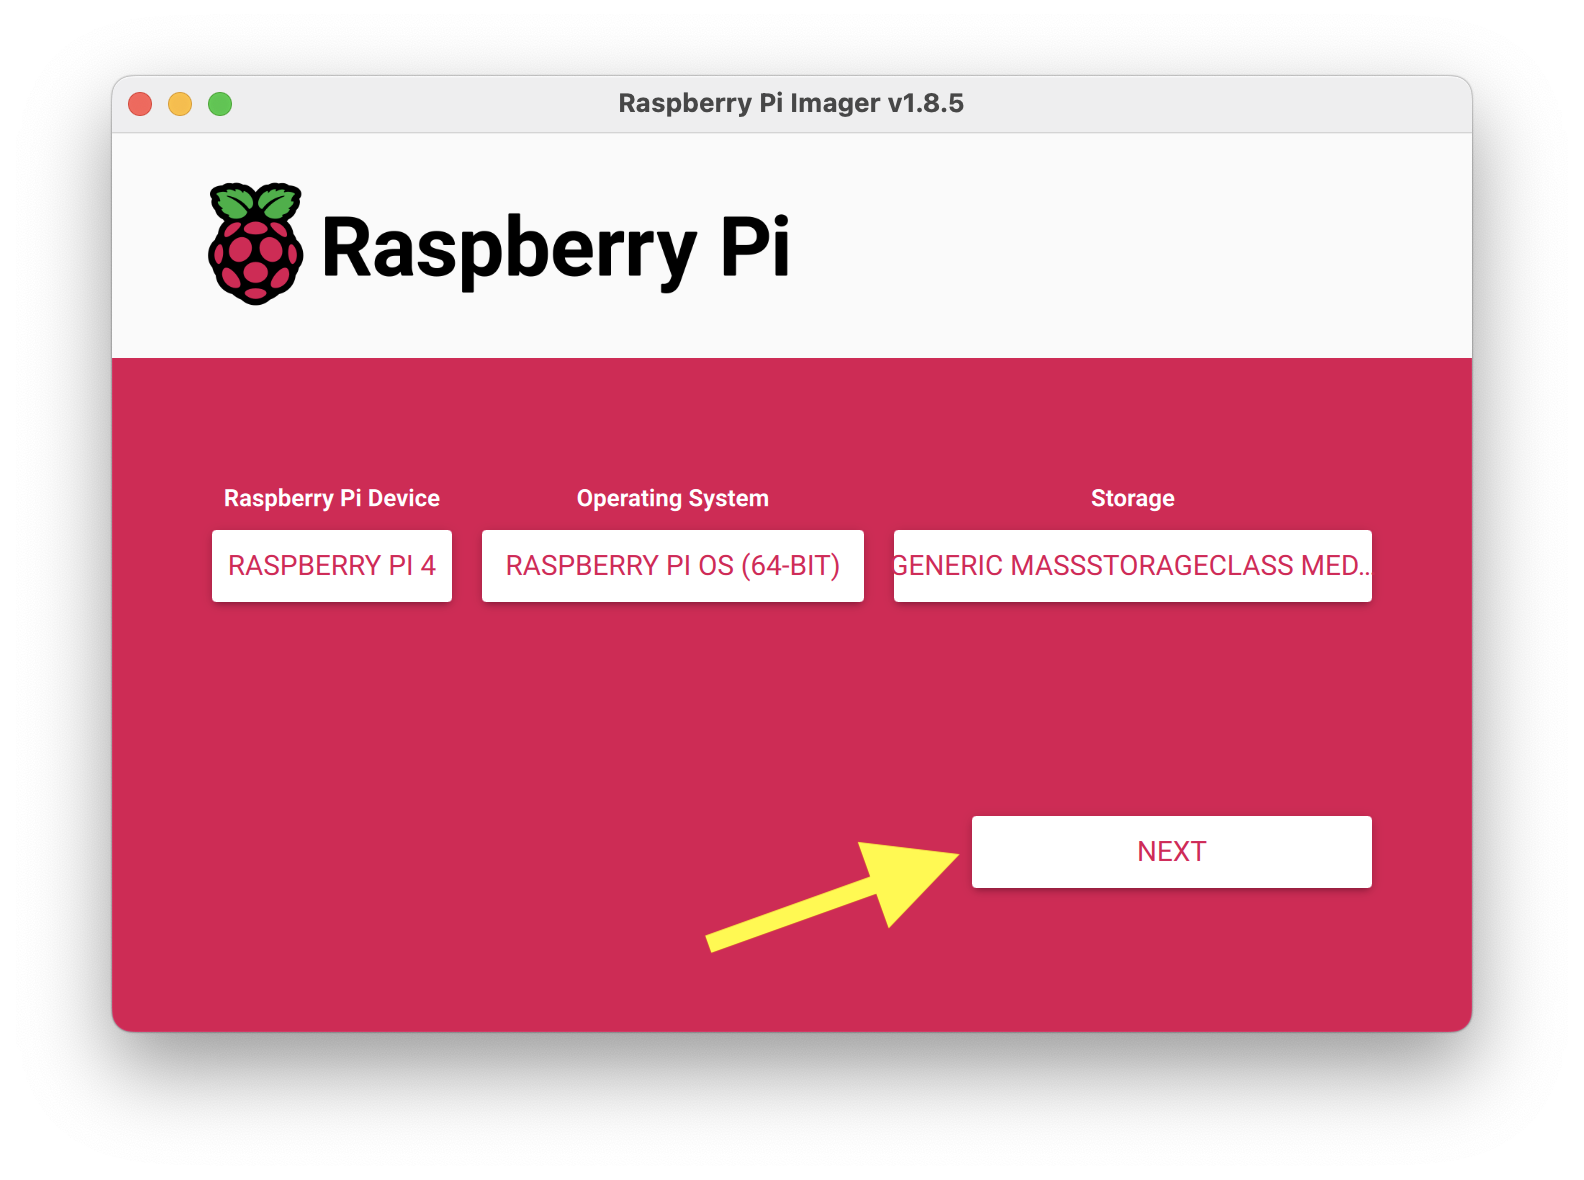
7. Edit Settings
Click on NEXT.
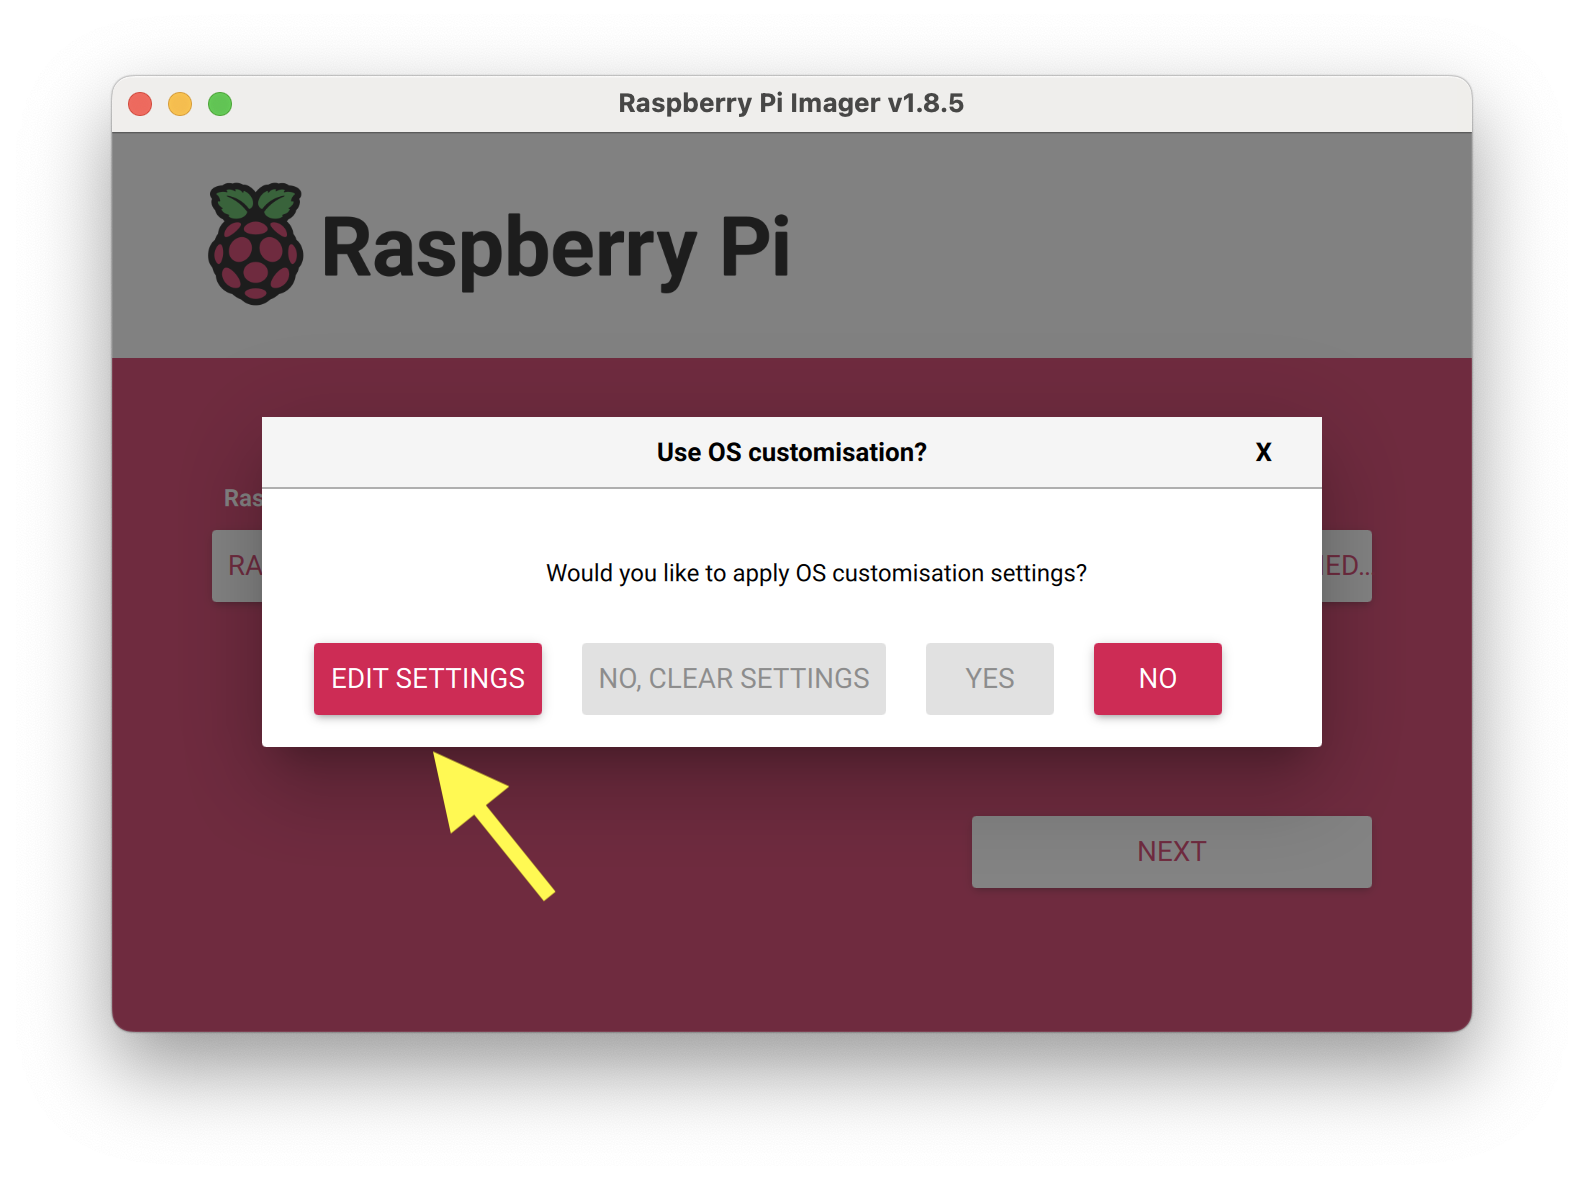
Click on EDIT SETTINGS.
7a. General Settings
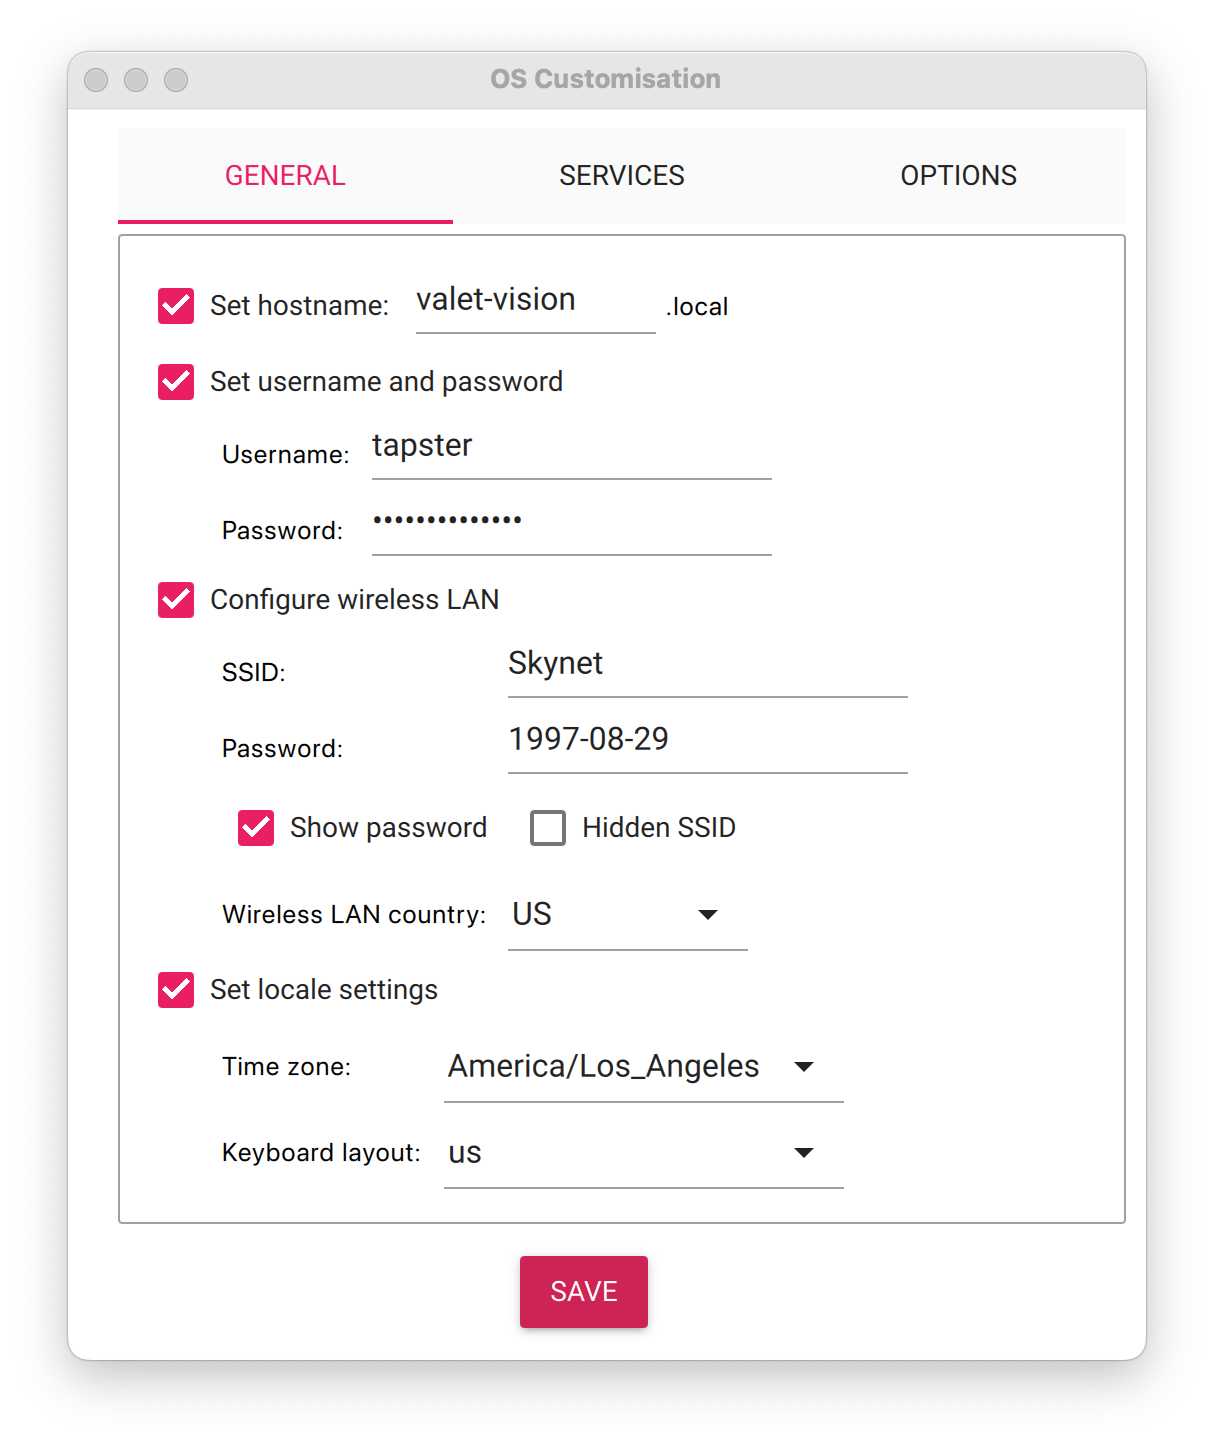
Select the GENERAL tab and make the following changes:
Set hostname to valet-vision, valet-link, (or some other preferred name).
Note
If you will have more than one Valet on your network, we recommened adding a number after the hostname (e.g. “valet-vision-34”).
Set the username to tapster.
Enter a password and store it somewhere safe, like a password manager.
If you’ll be using a wireless network connection with your Valet, enter SSID and Wi-Fi password. However, if you’ll be using a wired network connection, then leave “Configure wireless LAN” unselected and the SSID and password fields blank.
Note
In the default installation, we do not set Wi-Fi credentials here with Raspberry Pi Imager; instead, we use Comitup to bootstrap Wi-Fi support. However, the use of Comitup is configurable, and can be disabled when the system set-up scripts are run in a later step. If you really would rather set up Wi-Fi here, though, go for it!
(Optional) Set locale settings for your preferred time zone and keyboard layout.
7b. Services Settings
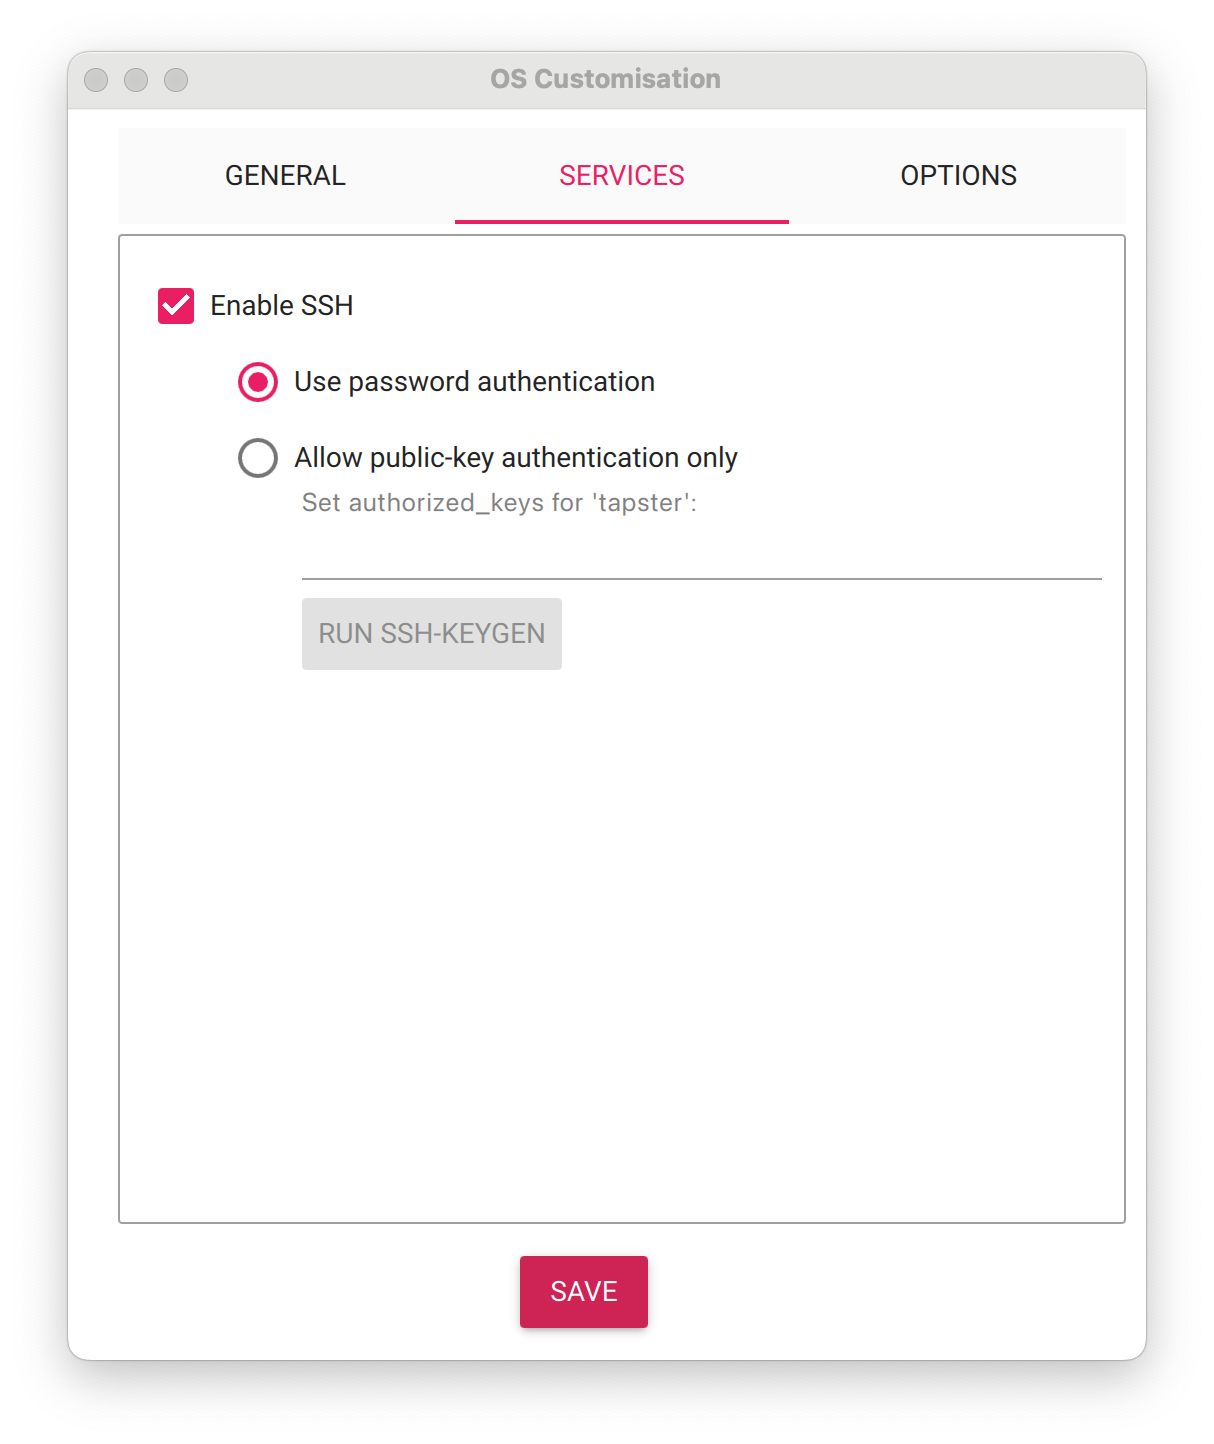
Select the SERVICES tab.
Enable SSH and select “Use password authentication”.
Note
You can also enable key-based authentication later after logging into Valet.
7c. Options Settings
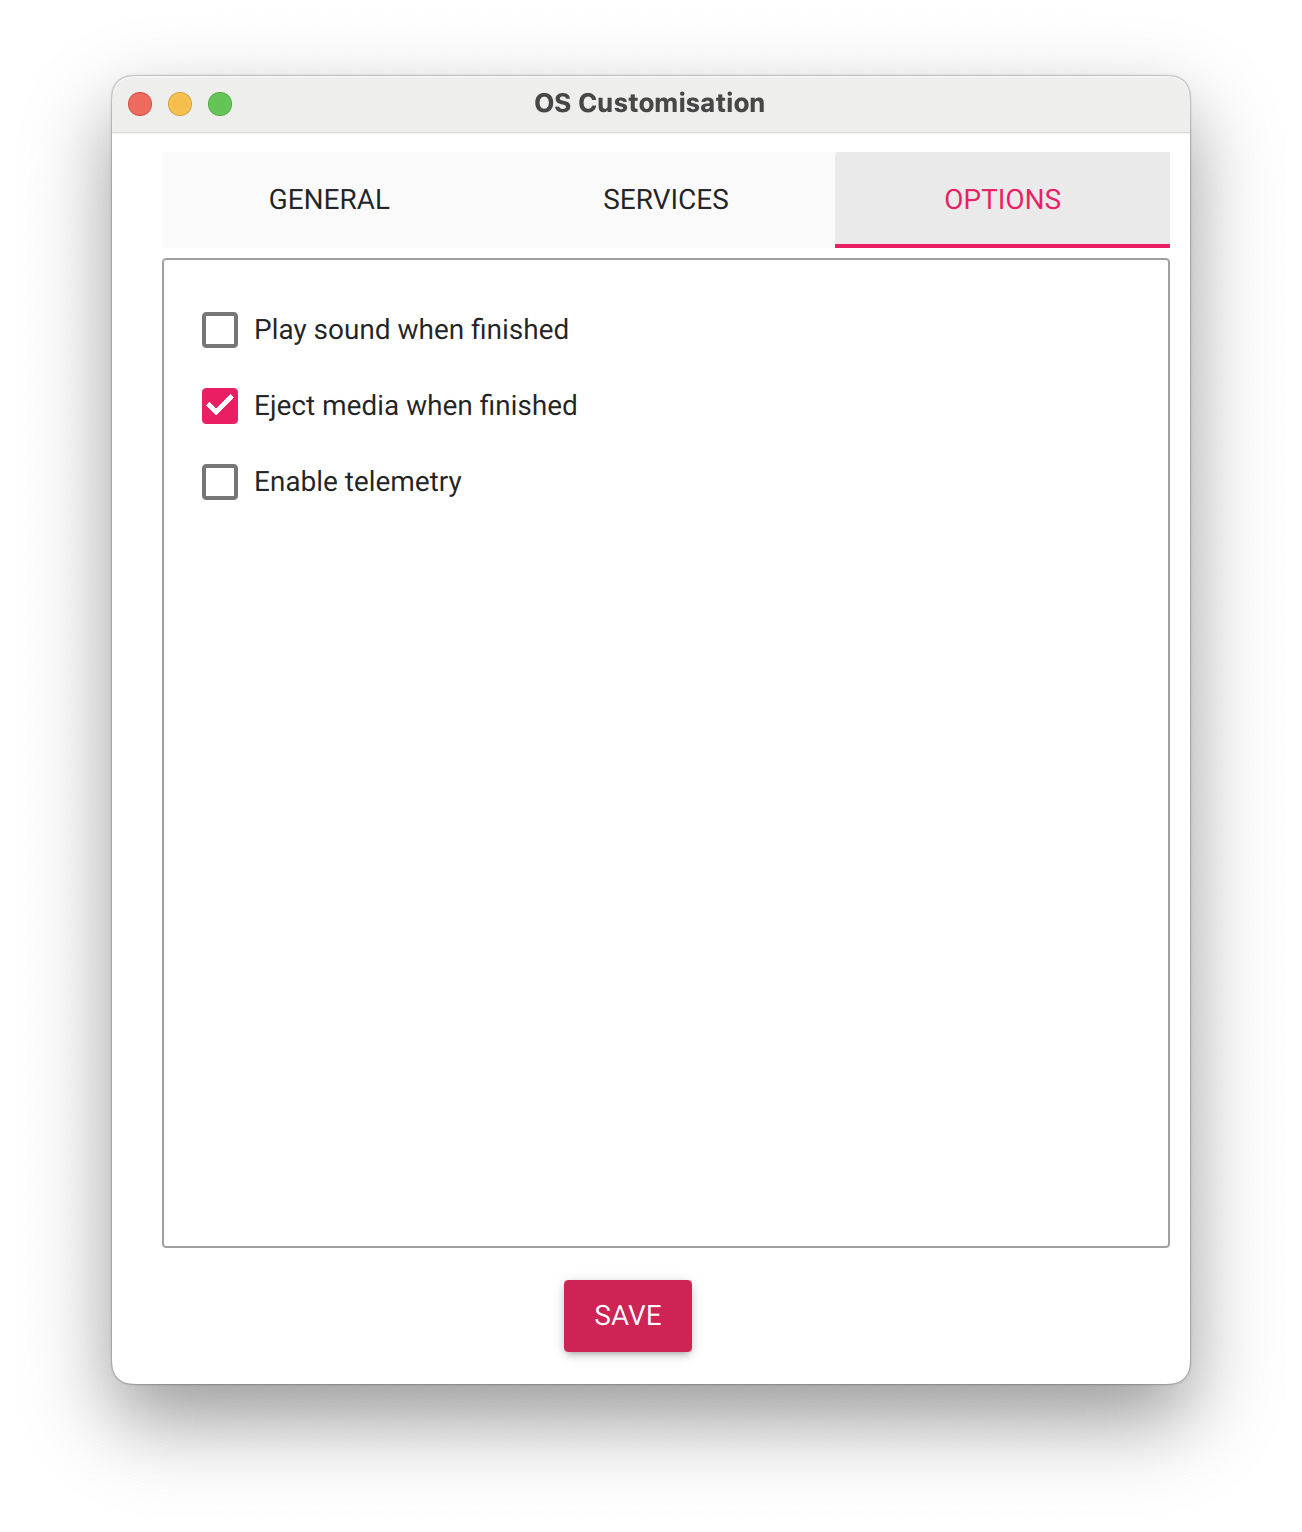
Select the OPTIONS tab.
If desired, deselect “Enable telemetry”.
Note
Information about the telemetry collected by Raspberry Pi Imager can be found the projects’s README.
Raspberry Pi Imager’s collected stats are available at https://rpi-imager-stats.raspberrypi.com/.
7d. Save Settings
When you’re done making changes to the settings, click on SAVE.
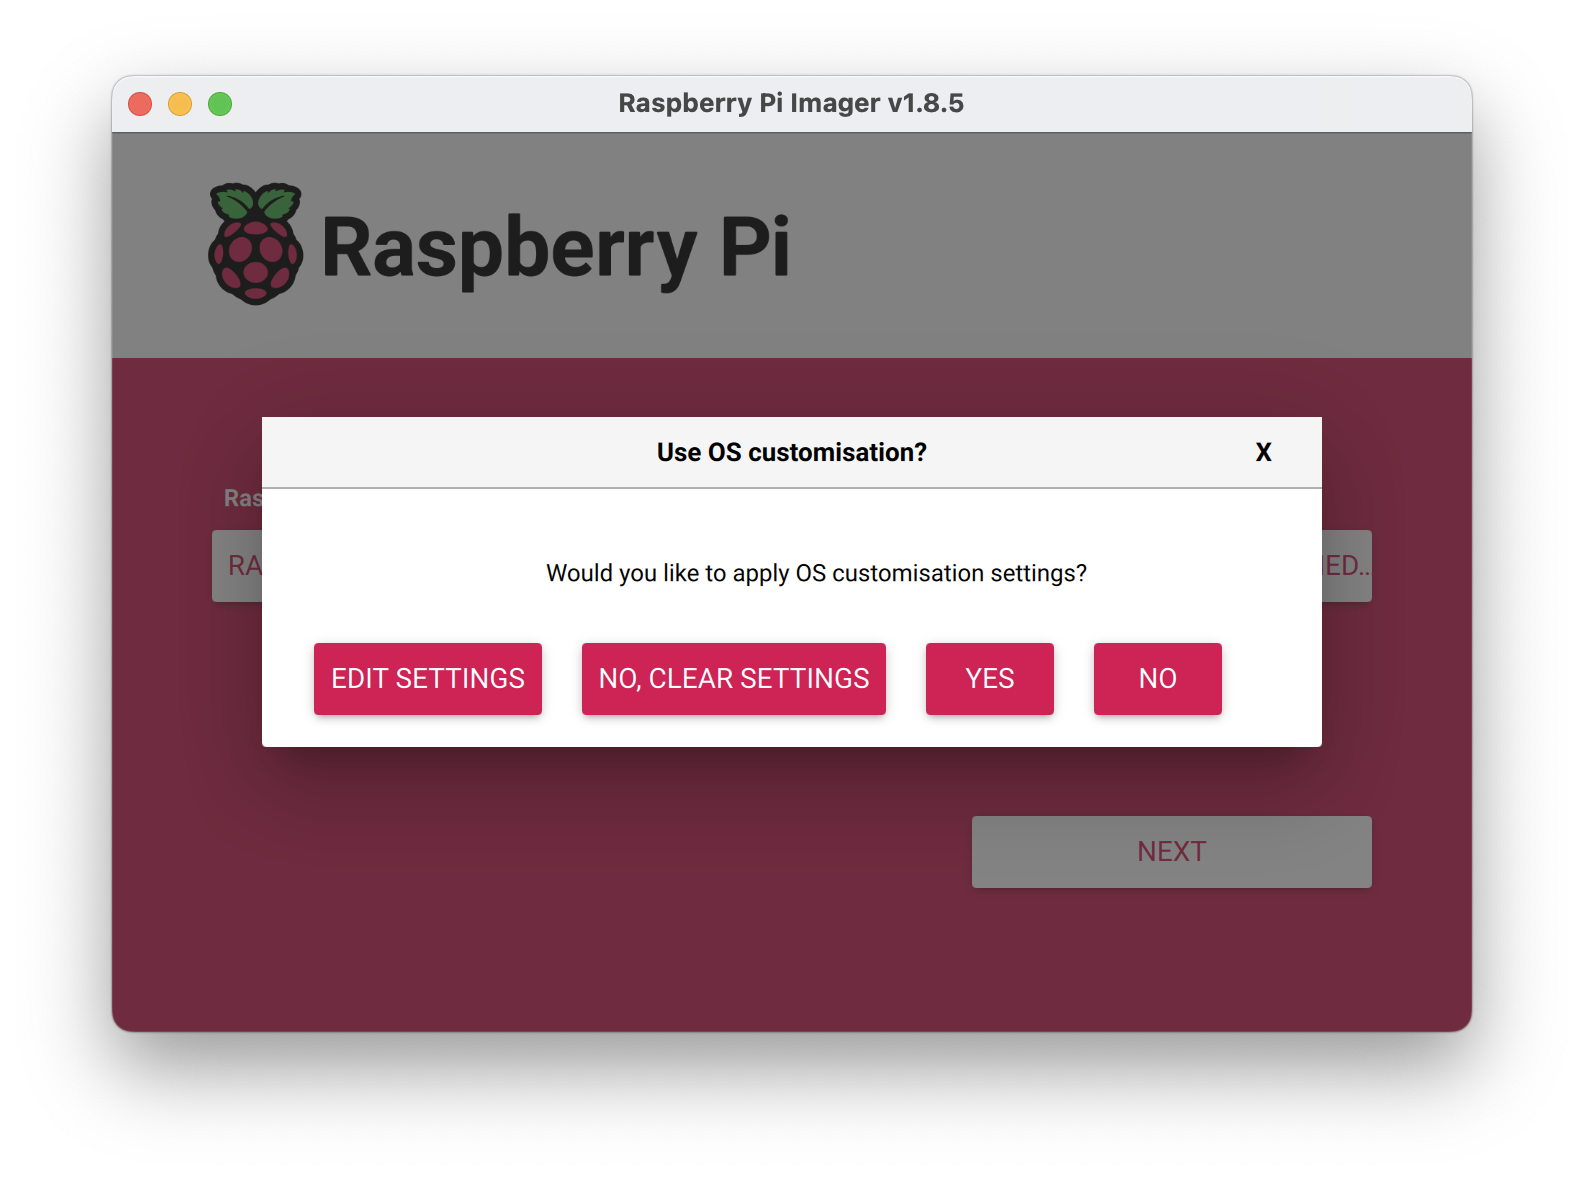
7e. Apply Settings
When asked “Would you like to apply OS customization setttings?”, click YES.
8. Write the OS to the SD Card
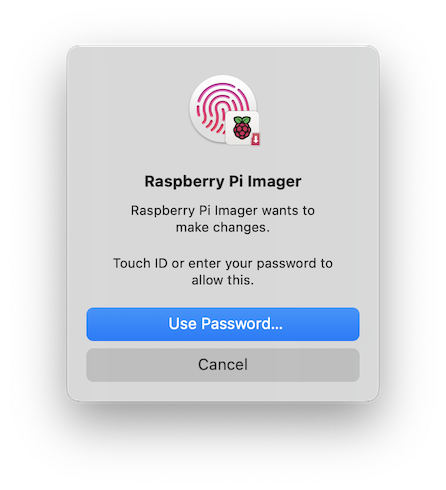
When asked “Are you sure you want to continue”, click YES to continue.

If you’re shown an admin prompt, grant the Imager permission to continue.
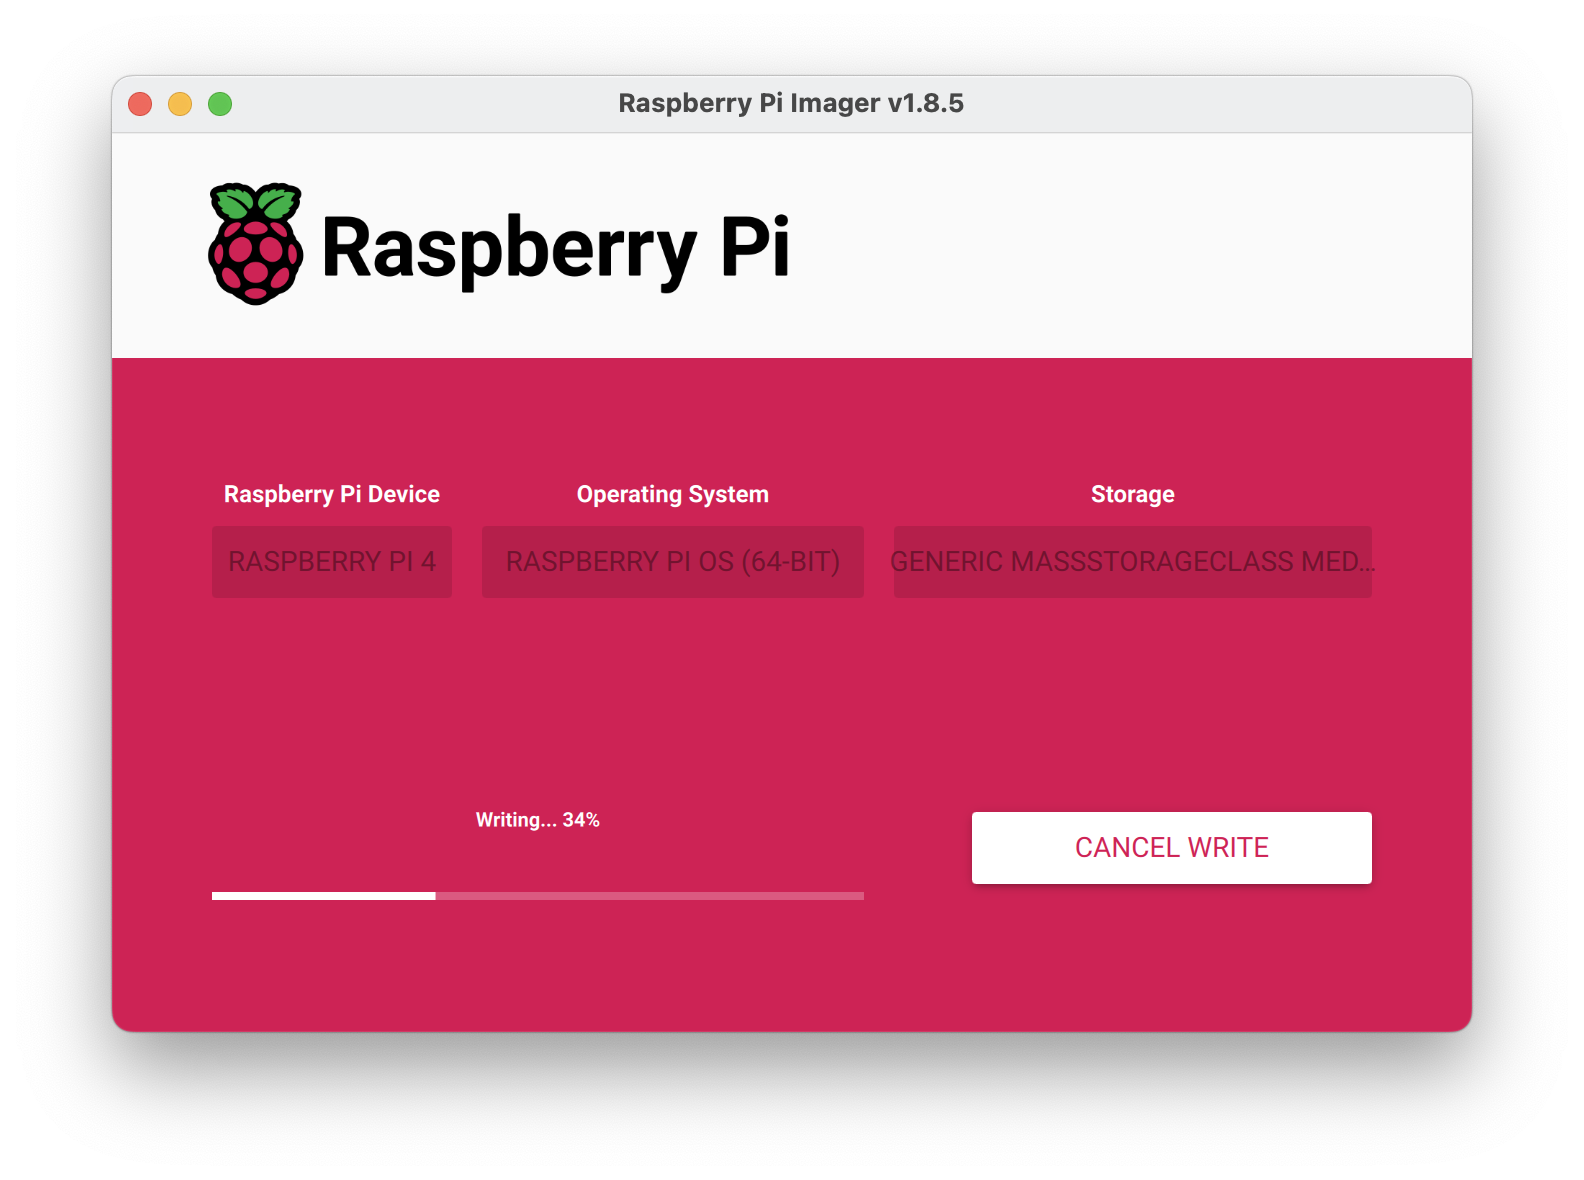
Wait for the writing process to complete; this may take a few minutes.
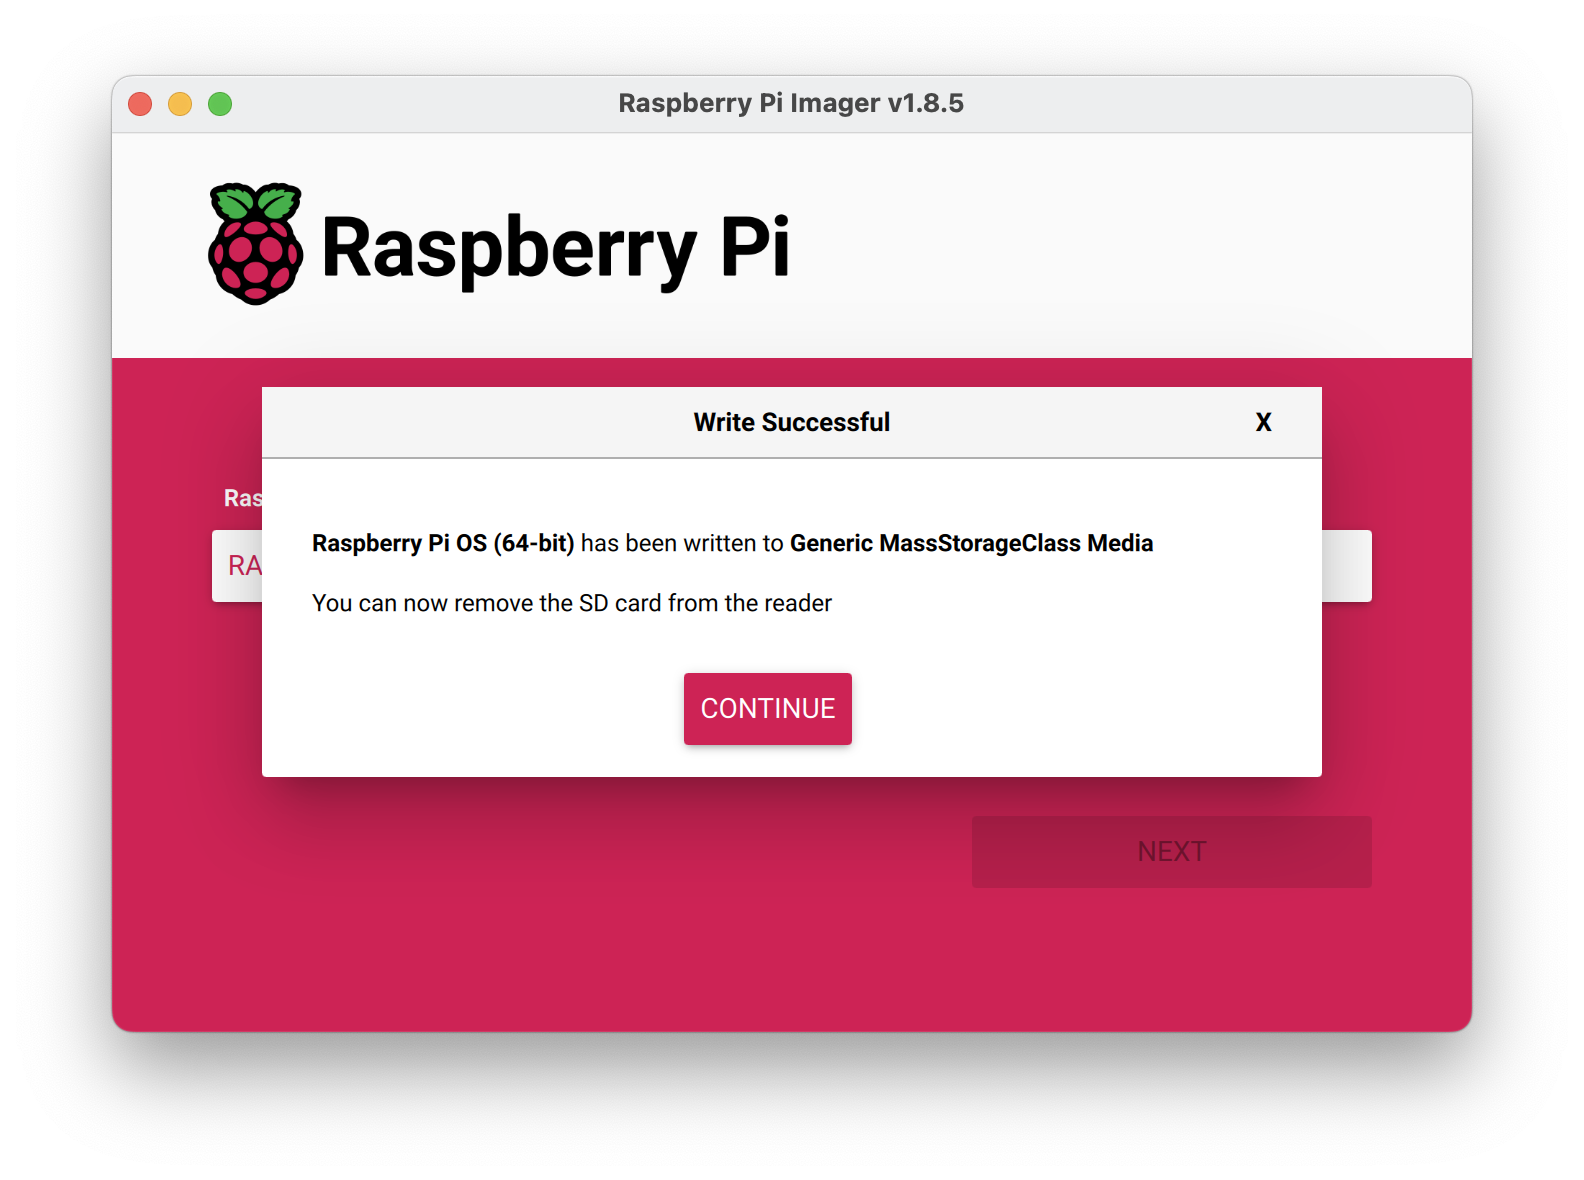
9. Safely Eject the SD Card
After the writing process is complete, click CONTNIUE and safely eject the SD card from your computer.
10. Boot Up Your Valet
Insert the MicroSD card into the Valet’s Raspberry Pi.
(Optional) If no wireless connection was configured, connect a wired network cable to the Valet.
Connect the Valet to a power supply.
🎉 Well done!
Well, almost! Your Valet’s Raspberry Pi is now running Raspberry Pi OS, but next we need to install Valet specific software.